Table of Contents
How to set up and configure Next.js Server Side Rendering (SSR)
In this post, you are going to learn how to install and run a Next.js application the easy way. Creating a Next.js app requires Node.js, and npx installed.
- Visit the official Node.js page and download the latest Node.js and install Node, which also includes NPM (Node Package Manager), and npx comes bundled with npm version 5.2+.
- Install TypeScript, You can install TypeScript as an NPM package “npm install -g typescript“.
- once the installation is completed. The “npx create-next-app” command will be used to create a Next.js application.
npm install -g typescript What is Server Side Rendering (SSR)
Server Side Rendering (SSR) is a technology that renders applications on the server. By default, React JS application executes in the browser, rendering the pages whenever a user takes any action.
Next.js executes on the server-side by generating static pages and later are sent to the client browser for display. The fetching of the dynamic data is done by server-side. This is how we used to render web pages in the old days (PHP/ASP.Net/Python) and for a more detailed look, check out this article.
What are we going to build
We recommend creating a new Next.js with Typescript app using create-next-app, which sets up everything automatically. To create a project, run the below command in the terminal or command prompt. This command creates a new Next.js application and installs the required packages (next, react, and react-dom).
# Create a new Next.js app with typescript
npx create-next-app <app-name> -- typescript
The installation process may take a few minutes. Once is done, a folder that appears in your workspace with the name you gave to your app. below are some Next.js build commands, which we’re going to use soon.
- dev starts the development server.
- start runs the Next.js app in production mode.
- build to build your Next.js app for production.
"scripts": {
"dev": "next dev",
"build": "next build",
"start": "next start",
"lint": "next lint"
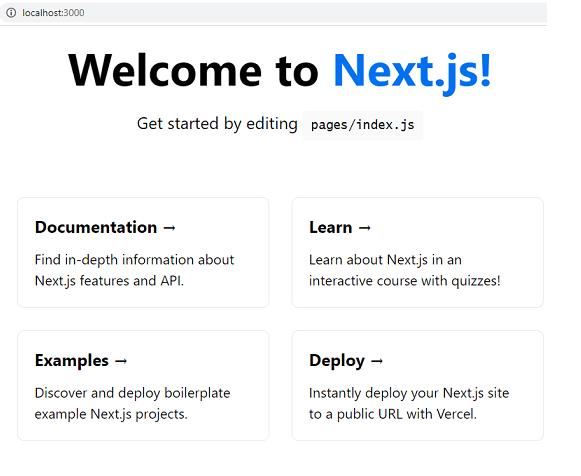
}, Now using the terminal, to start your application run npm run dev. This will make the app available on http://localhost:3000. On inspecting the source code, we can see that the SSR is working as it should.
How to create dynamic routes
Next.js project comes with a pages folder. its defines routes based on the file with the extensions( like .js ,.ts and .tsx) under the pages directory as a route. For nested routes, you have to create a folder instead of a file. Consider below folder structure as an example.
pages/
│   index.js -> url: / home page
│
└───posts/     |
     |
     └─── angular.tsx  -> url: /posts/angular
     |
     └─── react.tsx  -> url: /posts/react
Here, we have three pages with .tsx extension
- index.tsx is the home page accessible on http://localhost:3000.
- posts/angular.tsx is the page located on the posts folder and accessible on http://localhost:3000/posts/angular.
- posts/react.tsx is the page located on the posts folder and accessible on http://localhost:3000/posts/react
How to navigate and pass route parameters in dynamic routes
By default, Next.js Link Component allows navigation between routes. First, you should import the Link component from the “next/link” module and then wrap your anchor tag”<a>” with it.
import Link from "next/link";
export default function AngularPage() {
    return (
        <div className="container">
            <h3>Angular Blog</h3>
            <div>
                <Link href="/posts/angular">
                    <a>Angular page</a>
                </Link>
                <Link href="/posts/react">
                    <a>React page</a>
                </Link>
            </div>
        </div>
    )
}
Next.js allows you to pass parameters with the route and then get back the data using the useRouter.
import Link from "next/link";
export default function AngularPage() {
    return (
        <div className="container">
            <h3>Angular Blog</h3>
            <div>
                <Link href={{
                    pathname: "/posts/typescript",
                    query: { id: "test" },
                }}>
                    <a>Typescript page</a>
                </Link>
            </div>
        </div>
    )
}
Here, we import the useRouter hook to get the data passed in route, we pull it from the query object using destructuring.
import Link from "next/link";
import { useRouter } from "next/router"
export default function TypePage() {
    const router = useRouter()
    const {
        query: { id },
    } = router

    return (
        <div className="container">
            <h3>Typescript Blog</h3>
            <div>
            parameter value  is: {id}
            </div>
        </div>
    )
}
Related Post
Azure Speech Recognition in Angular 12 | Real-Time Transcription and Translation
Zoom integration with Angular 12 | Zoom Meetings into a website
Blazor CRUD operations with Dapper | .NET Core 3.1
Source code available for download
The source code is available on Stackblitz of the Next.js Server Side Rendering (SSR) and Dynamic Routing
Demo Application URL: URL or https://stackblitz.com/edit/next-js-server-side-rendering?file=README.md